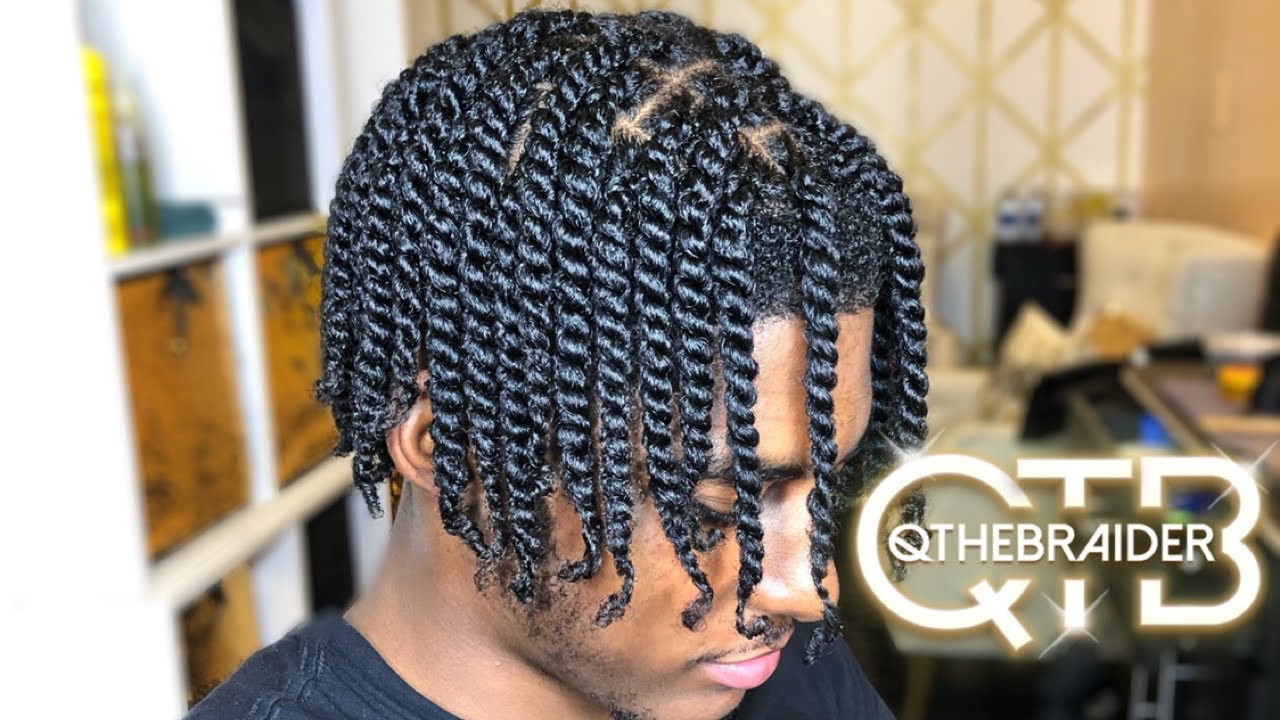
For a very long time, hairstyles have served as a means of communicating uniqueness, reflecting cultural expressions, and reflecting personal identity. Out of all the hairstyles that exist, two-strand twists are a classic and adaptable choice that works for a variety of hair types, textures, and events. Two-strand twists, which combine style and ease of maintenance, have become a go-to hair care option for anyone looking for a balance between fashion and functionality.
This thorough guide walks you through the difficult process of learning how to create two-strand twists, providing step-by-step directions, a list of necessary supplies, maintenance advice, and cultural relevance insights.
By the end of this article, you’ll know how to do twists.
Materials that are Required to Do Two Strand Twist
Before starting the process of making flawless two-strand twists, assemble the following necessary materials.
- Freshly Cleaned Hair
- Wide Tooth Comb
- Styling Product
- Hair Clips or Bands
- Rat-Tail Comb
- Hair Oil or Serum
Above are the items that you should gather before we start on how to do twists. Let’s understand all those materials in more detail and understand how, when, and where to use them.
1. Freshly Cleaned Hair: Begin with a Spotless Background
It’s important to start your twist hairstyle with freshly cleaned hair. Cleaning and conditioning your hair in advance not only gets rid of excess oil, product buildup, and debris but also makes the perfect atmosphere for the twists to form. The twists grip better and remain longer on clean hair. To keep your hair healthy when cleansing, use a nutritious conditioner and a shampoo without sulfates.

2. Wide Tooth Comb: Minimize Breakage and Damage
It’s important to use a tooth comb to gently untangle your hair before you start twisting. This comb is made to run through your hair smoothly and without breaking or damaging it too much. You may get rid of knots and tangles by beginning at the tips and working your way up to the roots. Detangling hair makes sure that every area is silky and prepared for twisting, which produces outcomes that are more consistent and orderly.

3. Styling Product: Tailored to Your Hair’s Needs
The key to creating great twists is choosing the appropriate styling product. Your product selection should take into account the texture requirements of your hair, density, and moisture needs. For instance, curling cream or twisting butter can be used for hair that is curly or coily which can help achieve the required grip and definition. You can achieve a smoother and more controllable twisting procedure by using a leave-in conditioner to hydrate and supple your hair.

4. Hair Clips or Bands: Organized and Efficient Twisting
A practical part of the twisting process is played by hair bands or clips. By breaking up your hair into manageable portions, these tools assist in keeping your strands from tangling while you are working. You may twist your hair more efficiently and neatly by parting it, which also lets you concentrate on each twist separately. Using this technique also aids in keeping your entire head’s twist sizes and styles uniform.

5. Rat-Tail Comb: Precision in Sectioning
It’s essential to create uniform portions for a finished, put-together twist hairstyle. With its pointed end, a rat-tail comb helps you divide your hair neatly and evenly. This tool makes sure that every part is the same size, which produces twists with a uniform appearance. A professional-looking result can be achieved by sectioning precisely, which also lessens the change of unequal twists.

6. Hair Oil or Serum: The Finishing Touch
Use a hair oil or serum to seal in moisture and add a finishing shine to your twists. You may add extra moisture to your hair and make your twists look better by using a tiny bit of oil or serum on your fingertips and evenly rubbing it over each twist. This stage keeps your twists healthy overall and offers a glossy finish while also preventing frizz.

Twists that are well-defined, durable, and exquisitely fashioned can be achieved by following these comprehensive instructions and utilizing the appropriate equipment and materials, showcasing the health and beauty of your hair.
A Comprehensive Step-By-Step Guide on How to Do Twists
Once all the required materials are assembled, it is time to put them in the process.
This article is intended to bring you through the process with ease and clarity, whether you’re new to the field of hairstyling or want to improve your technique. A protective hairstyle that can be worn in a variety of styles, from casual to exquisite, is the two-strand twist. By carefully following our step-by-step directions and advice, you’ll quickly learn how to fashion exquisitely twisted strands that radiate refinement and charm.
Remember that the actual beauty of two-strand twists lies not only in the finished product but also in the careful process itself as you set out on your path or artistic expression. This thorough guide acts as a road map, pointing you in the direction of attaining twists that express your uniqueness and sense of style.
Let’s understand step by step how to elegantly and flawlessly create a two-strand twist. Do follow the entire process as per the steps to get the best results.
Step 1: Detangle Your Hair

A fundamental first step in beginning your two-strand twist adventure is to gently detangle. Using a wide toothcomb, handle your hair carefully and patiently. Commence this procedure with the ends, as this is where tangles and knots usually build up. Work your way up the hair shafts gradually, using small strokes to release any tangled strands.
This first step guarantees a seamless twisting experience while also preparing your hair for styling. Effective detangling reduces the possibility of unneeded breakage and keeps knots from making the twisting procedure more difficult in the future.
Step 2: Section Your Hair

Creating well-defined twists requires a planned foundation for sectioning your hair. Use hair bands or clips to divide the hair into smaller sections so that the twisting procedure goes more smoothly. The thickness of your final twists is directly influenced by the size of these parts.
Take some time to analyze the density and texture of your hair. Choose smaller portions for finer twists and a delicate, polished aesthetic. Larger pieces, on the other hand, provide a chunkier, more robust twist appearance. The amount of sections will change depending on the natural volume of your hair and the exact look you want to achieve.
Step 3: Apply Styling Product

Once you have successfully sectioned your hair, concentrate on applying the product. Make sure your selected style product is evenly applied from root to tip while working on one region at a time. This product serves as a multifunctional ally, nourishing your hair, defining your natural curl pattern, and stabilizing the twists to keep them in place.
Look into the many styling options while considering the particular requirements of your hair and the results you are going for. Making the right product choice guarantees that your twists will keep firm and maintain their definition throughout time.
Step 4: Divide the Section

As you move from the theoretical to the practical part of the procedure, use a rat-tail comb to further polish the portion you are working on. Divide it into two portions, one in each hand, and balance them equally. This intentional division ensures that the hair is distributed equally among the portions, creating the foundation for a balanced and consistent twist.
Step 5: Twist the Sections

Keep in mind the essential technique that forms the basis of the entire procedure as your fingertips begin the actual twisting. Starting with the portion in your right hand, cross it across the one in your left. Maintain constant tension as you perform this twisting action. The rhythm and pattern for the subsequent twists are established by this first twist, which serves as a crucial foundation.
Step 6: Add More Hair

Once the basic twist has been formed, it’s time to use a technique called the “rope” method to make your twists stand out from the crowd. Add more hair from the adjacent portions to the twist gradually as you continue to twist. This technique makes sure that the hair blends in seamlessly, producing twists that are consistently defined from the root to the tip.
Step 7: Continue Twisting

As you move along the portion, continue adding fresh hair while maintaining the twisting motion. Strike a balance between comfort and tautness; the twist should be held together while remaining mild enough to prevent discomfort or hair damage. This methodical process ensures that each twist receives the consideration it merits, ultimately adding to the finished aesthetic.
Step 8: Secure the Twist

When you have carefully twisted all the way to the section’s finish, reinforce your work by fastening the twist with a hair band or clip. This seemingly insignificant action is essential for preserving the integrity of your twists as you move through the other parts. It gives you a sense of achievement and advancement, empowering you to proceed with confidence.
Step 9: Repeat

When one twisting portion is finished, realize that the voyage has only just begun. Repeat the same procedure – sectioning, applying the product, twisting, and securing – for the remaining parts of your hair to create a unified and cohesive style. To achieve consistently flawless twists, one must be consistent and pay close attention to every little detail.
Step 10: Set the Twists

Consider using heat to help you create a more prominent and defined appearance. To properly set the twists, use a hair dryer set to low heat or place yourself behind a hooded dryer. This procedure reduces frizz while also quickening the drying process, which is especially helpful for people with thicker hair.
Step 11: Undo the Twists

It’s time to unravel the twists later when you are ready for a new look or are just looking for a change. Apply the same caution and focus to this stage as you did along your winding journey. Undo the twists slowly, taking care not to cause frizz or mess up your hair’s natural curl pattern.
Step 12: Style as Desired

A universe of style options emerges when your twists take on their untwisted shape. Enjoy your increased adaptability as you try out various looks. Explore the artistic potential of a twist-out style, fluff out the twists to increase volume, or start experimenting with complicated updos. By customizing your hairstyle in this last step, you may make it fit both your distinct personality and the situation.
Expert Tips for Maintaining Two Strand Twists
- Sustainable Moisture: To combat dryness and lessen the chance of hair breakage, prioritize moisture by using a water-based leave-in spray or hydrating oil.
- Night-time Protection: Wrap your hair in a satin scarf or sleep with it on a satin pillowcase to keep the definition of your twists. This level of caution lessens the friction and protects your twists while you are sleeping.
- Balanced Re-Twisting: Although re-twisting can rev up your look, avoid overdoing the manipulation. Over-manipulation can make hair strands more fragile, which can result in breakage and poor hair texture.
- Effective Cleaning: While the twists are in place, clean your scalp and hair to remove product accumulation. To keep your scalp healthy, use a shampoo or cleaning spray that has been diluted.
Conclusion
Two-strand twists are a compelling and adaptable hairstyle that can be worn for a variety of events, hair types, and personal expressions. With the knowledge you have gained from this comprehensive manual, you can master the two-strand twisting technique.
Two-strand twists provide an inspiring canvas to highlight your beauty and confidence, whether you are embracing your natural curls, prioritizing hair protection, or looking for a way to express yourself creatively.
Remember that every twist on this classic haircut is a testament to your individuality and sense of style as you set off on your adventure with it. The two-strand twist technique involves both imagination and technique.
Detangling, sectioning, twisting, and other intricate aspects of each process are covered in detail, giving you the knowledge and abilities needed to create engrossing twists.


