Are you ready to stand out with a unique and eye-catching hairstyle? Pink and black braids are not just a style statement; they express creativity and individuality.
Whether you’re heading to a festival or a party or want to spice up your daily look, this tutorial will guide you through creating the perfect pink and black braided hairstyle.
Designed with beginners in mind, this guide ensures that anyone can achieve a stunning and professional-looking braid.
With step-by-step instructions and helpful tips, let’s dig into the world of vibrant colors and turn heads with your fabulous pink and black braids!
Show off your bold new look and flaunt your braiding skills!
Equipment Required for The Hairstyle
Before you begin, ensuring you have all the required tools and materials is important. This preparation is crucial as it makes the braiding process smoother and more efficient. You will need:
- Pink and Black Hair Extensions or Colored Hair Wax: Choose quality extensions or wax for the best color effect.
- Wide-Tooth Comb: Essential for detangling your hair before you start braiding.
- Hair Ties and Clips: Needed to secure the braids and section your hair.
- Mirror: To help you see all angles of your head as you work.
- Hair Spray (Optional): Useful for extra hold, especially if you have fine or silky hair.
Steps to Follow in The Process
Step 1: Start with Preparing Your Hair

Proper hair preparation is essential for creating neat and durable braids.
Use a wide-tooth comb to detangle your hair from ends to roots gently.
This step is crucial to prevent breakage and ensure smooth and manageable hair, making braiding easier.
After detangling, ensure your hair is completely dry since braiding damp hair can lead to damage and make handling more difficult.
If you want extra texture or enhanced grip, consider applying a small amount of hair wax.
This is optional but can help manage flyaways and maintain the neatness of your braids throughout the day.
By thoroughly preparing your hair, you set the stage for braids that look great and last longer.
Step 2: Section Your Hair Properly

You’re on step two now, where neat sectioning sets the stage for stunning braids.
Begin by using the pads of your fingers to part your hair from the front to the back, creating a straight line as your guide.
Make sure to part your hair where you feel it will best flatter your head shape and face.
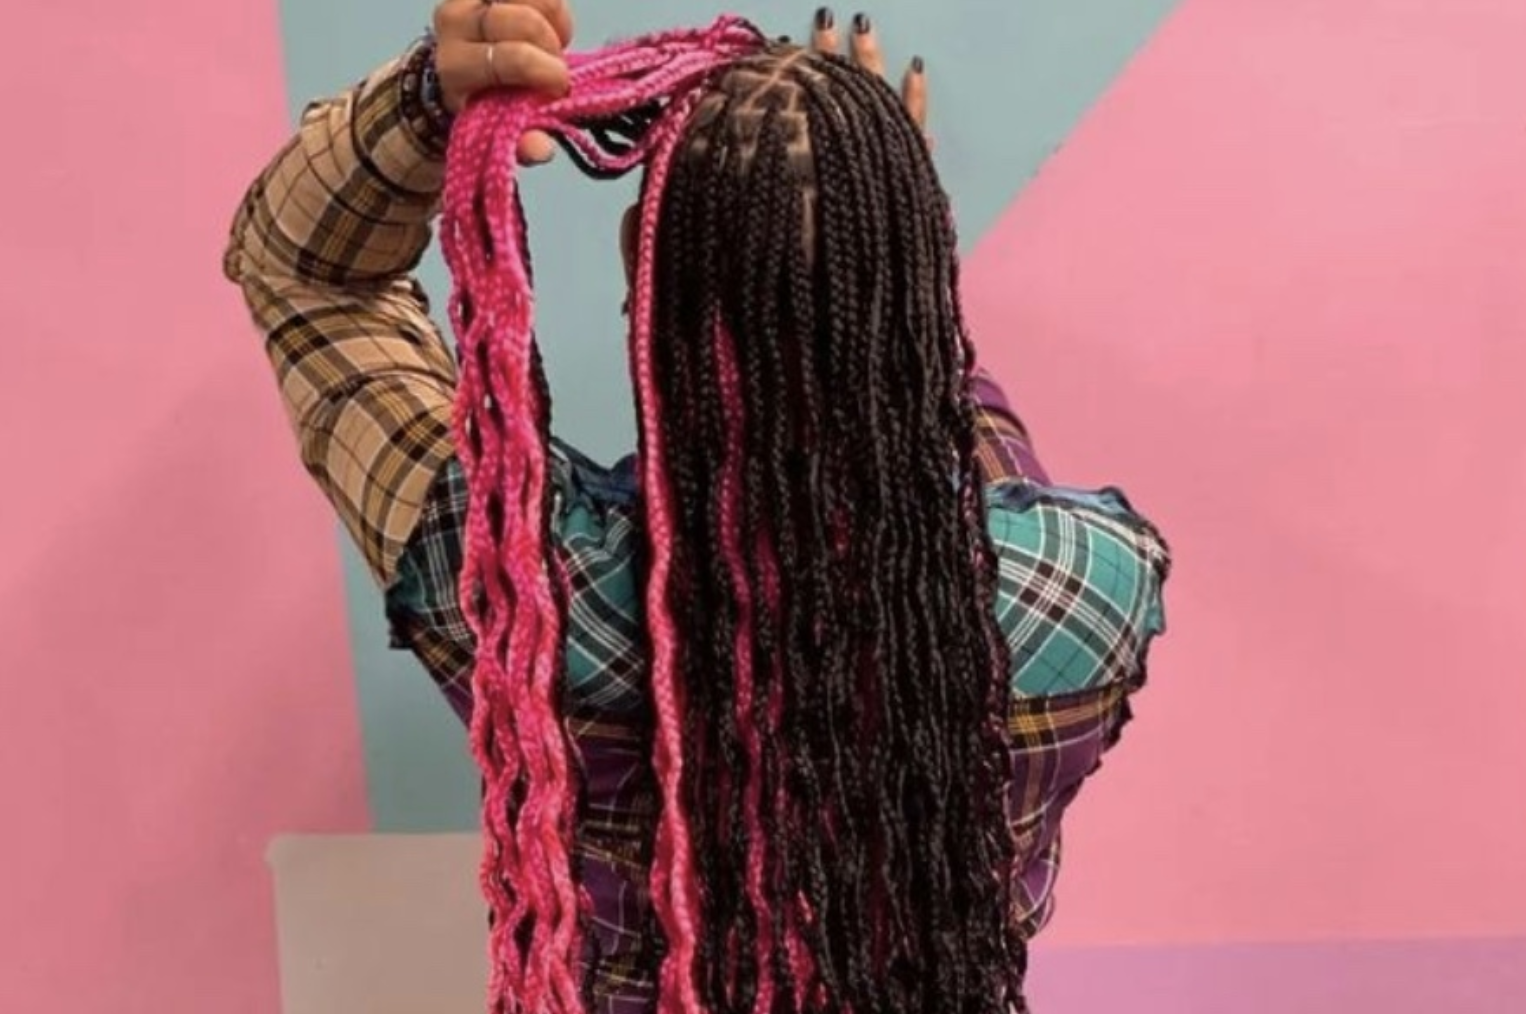
As you develop these sections, keep them separated and secure with clips, just like the image shows, to avoid mixing strands.
This method keeps everything organized and paves the way for even and symmetrical braids.
Remember, the clearer and more precise the sections, the easier it will be to manage your hair and achieve a balanced look with your braids.
Step 3: Start Braiding Your Hair

To get your braids right, take three strands of hair from one side near the bottom of your hairline.
Think of it like you’re about to start a basic braid. Once you’ve got your three strands, use a clip to keep them separate from the rest of your hair.
This way, they won’t get mixed up with the other hair as you work. Please do the same on the other side, ensuring it looks the same as the first.
This step helps you track where each braid will go and ensures they’ll be nice and even.
Once all sections are clipped and ready, you’ll have a neat roadmap to follow as you add colorful extensions or dye.
Step 4: Adding Color to Your Hair

This step lets you introduce the vibrant pink and black colors that make your braids stand out.
If you use extensions, attach them securely within each sectioned part of your hair, ensuring they are evenly placed for a cohesive look.
If you prefer colored hair wax, apply it alternately along each section.
Blend the colors well to avoid harsh transitions, achieving a smooth gradient or solid block of color that enhances the overall aesthetic of your braids and will add perfect and vibrant color to your hair.
Step 5: Finishing Touches

Once all your braids are done, could you take a moment to check them over? Make sure each one feels comfortable and looks symmetrical.
If a braid seems off, adjust it slightly to get the perfect fit and look. Now’s a good time to use some hairspray if you have it.
A quick spritz will help keep everything in place and looking fresh.
These final touches are important to ensure your braids look professional and polished.
Step 6: Care and Maintenance

Take good care of your braids to keep them looking amazing. Wear a silk scarf or bonnet at night to protect them from rubbing against your pillow, which can cause frizz and loosen them.
Check your braids daily to see if you need to tighten or tidy them up.
Regular upkeep will help your style last longer and keep your braids neat.
If your braids are in for a while, using a leave-in conditioner or braid spray is also a good idea to keep the hair healthy and moisturized.
For more insights on this unique way of styling, you can also check out this detailed tutorial on YouTube!
Final Thoughts
Mastering the art of pink and black braids can be a rewarding experience, allowing you to express your creativity and add a splash of color to your style.
Following the structured steps outlined in this guide, from gathering your supplies to finishing touches and maintenance, you can achieve a professional and stunning braided look even as a beginner. Remember, the key to perfect braids lies in preparation and patience.
Taking the time to carefully section and color your hair, choose the right braiding technique, and maintain your style will ensure your braids stay beautiful and vibrant.
Whether dressing up for a special occasion or simply looking to enhance your everyday look, pink and black braids offer a versatile and striking option that will turn heads.
Explore the process and enjoy your fabulous new hairstyle!
Frequently Asked Questions
What’s the Difference Between Knotless Braids and Box Braids?
Knotless braids start with your natural hair and gradually incorporate braiding hair, offering a less painful, more natural look than box braids’ knotted base.
What Is the White Foam They Put on Braids?
The white foam applied to braids is a mousse that helps reduce frizz, adds shine, and keeps the braids looking tidy by taming flyaways.
How Do You Make the Ends of Braids Straight?
To straighten the braids’ ends, dip them in hot water. This seals and smooths the tips, ensuring they remain sleek and do not unravel.


