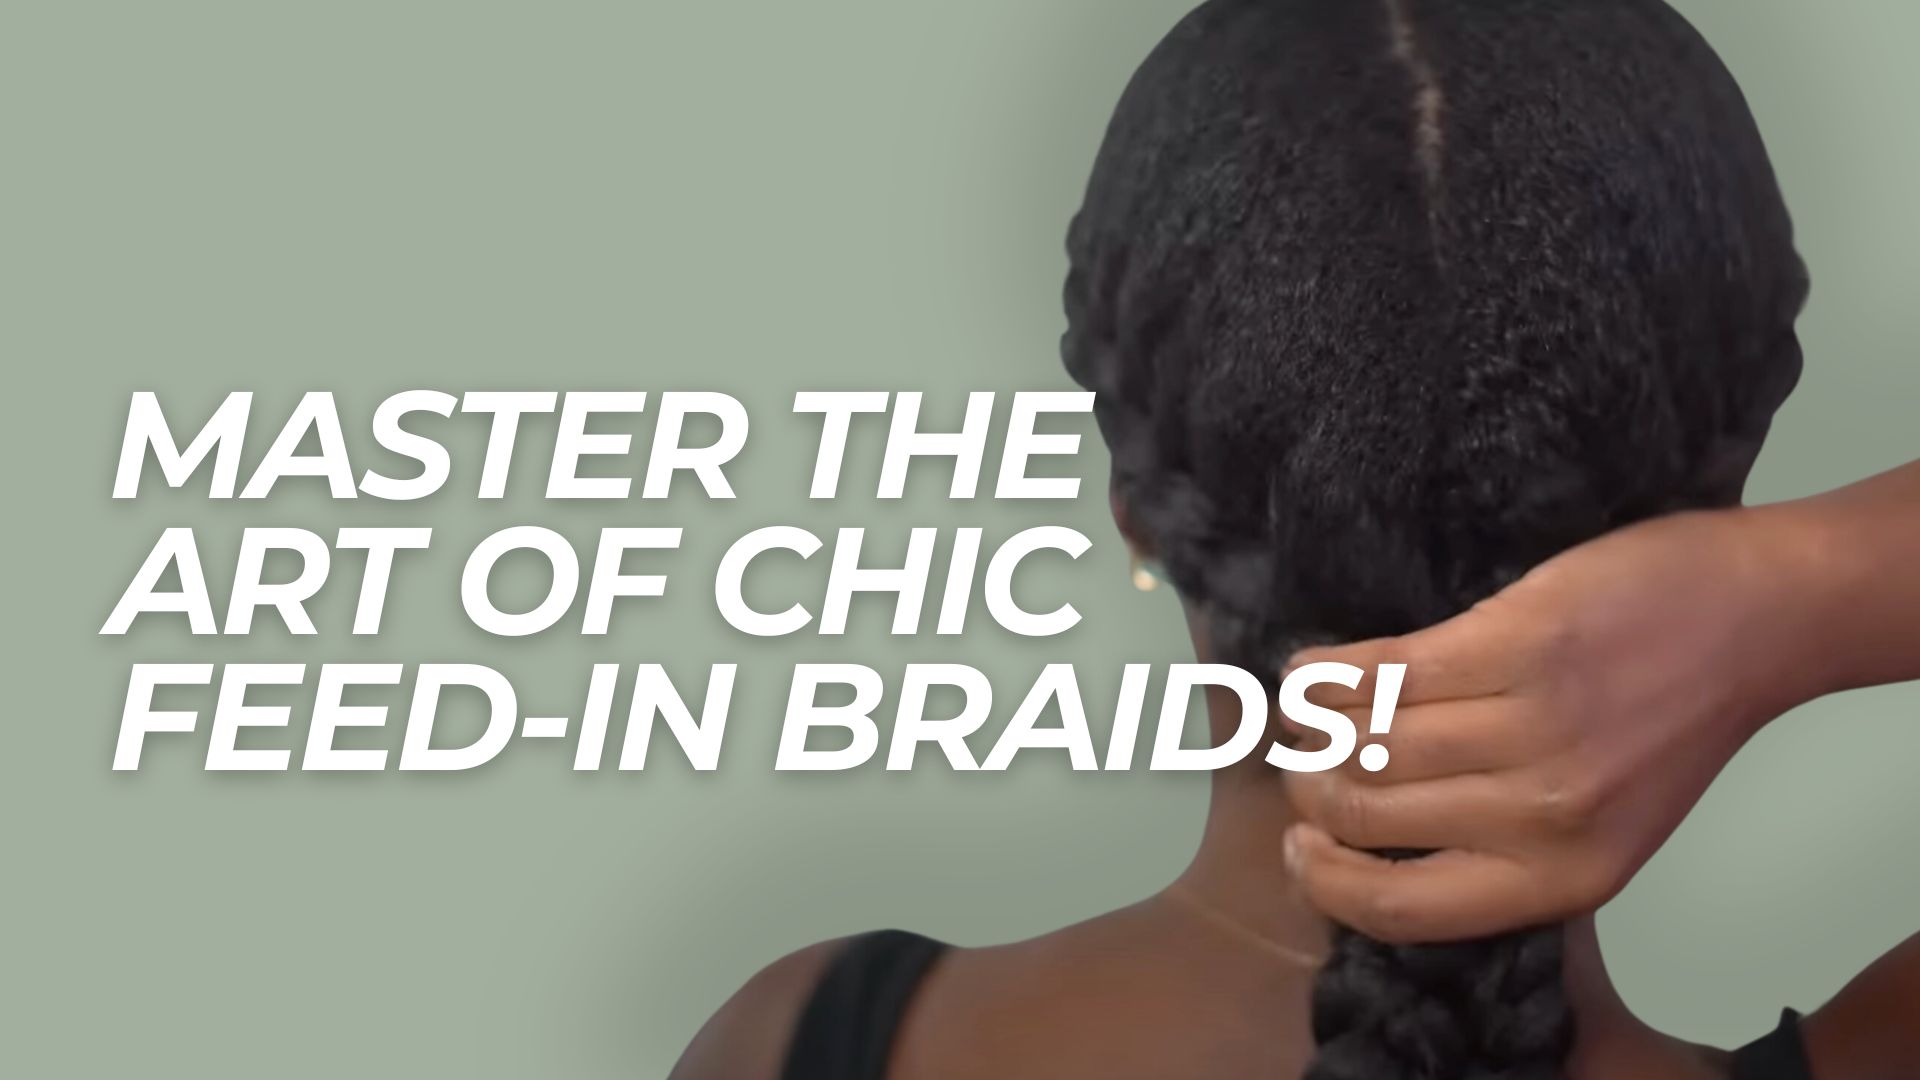
Are you tired of the same old braids and looking for a chic, protective style to make you stand out? Feed-in braids to the back are the perfect solution!
This trendy look keeps your hair healthy and adds length and volume to your natural tresses.
In this step-by-step guide, we’ll show you how to create stunning feed-in braids at home, even if you’re a beginner.
You’ll learn the secrets to neat parts, adding synthetic hair seamlessly, and maintaining your braids for weeks.
Get ready to turn heads with your new, stylish look!
What is Feed-in Braids?
Feed-in braids are a braiding technique where small sections of hair are slowly added to a larger braid, creating a seamless and natural look.
This method allows the braid to gradually increase in thickness and size, starting thinner at the scalp and thicker as it goes down.
Feed-in braids have become increasingly popular due to their versatility and ability to protect natural hair while providing a stylish appearance.
This technique can create various styles, from simple and elegant to bold and intricate, making it a popular choice for many who want to switch up their hairstyle.
Step-by-Step Guide: How to Create Feed-in Braids to the Back

Step 1: Preparing Your Hair
- Detangling: Start by combing your hair to remove all knots and tangles. This step ensures a smooth braiding process.
- Washing and Conditioning: Wash your hair using a gentle shampoo. This will clean the scalp and hair, removing buildup. Follow up with a hydrating conditioner to nourish and soften your hair, making it easier to manage.
- Moisturizing: Apply a leave-in conditioner or natural oil after towel-drying your hair. This step is crucial for hydration, which prevents breakage and promotes healthier hair.
- Blow Drying: Finally, dry your hair with a blow dryer and brush it out. Aim for a sleek and smooth base, ideal for feed-in braids. This preparation leaves your hair in the best condition for braiding, minimizing damage and facilitating the braiding process.
Step 2: Parting Your Hair
1. Creating Parts
Selecting the right tool is key when creating parts for your feed-in braids. A rat-tail comb is ideal due to its precision, with the thin end being perfect for creating clean and straight parts.
To begin, decide on the number of braids you want and section your hair accordingly. Aim for equal sections for a balanced look.
Starting from the front of your hairline, move the comb back to the nape of your neck or the direction you want your braids to go. Make sure each part is clean and visible.
2. Applying Edge Control
After creating your parts, apply some edge control gel around your hairline and along the parts. This helps to manage flyaways and ensures a sleek finish.
Edge control adds neatness and helps maintain the style for a longer duration. However, its application should be moderate to avoid build-up.
Step 3: Braiding Your Hair
1. Preparing Extensions
Start by dividing your braiding extensions into small bundles. These bundles should increase in size incrementally, corresponding to how you’ll add them to each braid. Arrange these bundles in the order they will be used to make the process smoother and ensure a consistent increase in braid thickness.
2. Starting the Braid
Begin by cornrowing a small section of your natural hair at the front. Add small pieces of your hair to the braid as you go along. Ensure the braid’s beginning is tight and close to the scalp for a neat appearance.
3. Incorporating Extensions
- Introduce the smallest bundle of extension hair into your braid a few inches from where you started the cornrow. This should be done subtly to ensure a natural-looking progression.
- As you continue braiding, methodically add larger bundles of hair to the braid, ensuring each addition is seamless.
4. Continuing the Braid
Maintain consistent tension as you add more extensions. This consistency is key to achieving a smooth and uniform braid.
Continue braiding and adding extensions until you reach the desired length of the braid.
5. Securing the Ends
To help secure the ends of the braid, apply a small amount of edge control.
Alternatively, if synthetic extensions are synthetic, you can use a lighter to slightly melt the ends to prevent unraveling. Some prefer dipping the braid ends in hot water for sealing.
Choose the best method with your hair type and the extensions you’re using.
Step 4: Repeating the Process
1. Consistency is Key
For each section you’ve prepared, repeat the braiding process meticulously.
Start each braid with the same small section size and gradually incorporate the extensions using the same method in the first braid.
Consistency in your technique is crucial for achieving a uniform look.
2. Maintain Uniformity
Strive for uniform thickness and length across all braids.
This enhances the overall aesthetic and ensures each braid is comfortable and properly secured.
Regularly compare your braids as you work to ensure they match in size and appearance.
3. Patience Pays Off
While rushing through the remaining sections might be tempting, remember that patience and attention to detail will result in a more polished and lasting hairstyle.
Take your time with each braid, ensuring the parts are clean, the tension is consistent, and the extensions are incorporated seamlessly.
4. Securing Each Braid
Secure the ends of each braid using edge control or your preferred method, just as you did with the first.
This consistency in finishing touches ensures all braids have a neat appearance and are less likely to unravel.
Please pay attention to each braid’s end, ensuring they are all sealed properly for a long-lasting style.
Final Touches: Feed in Braids To The Back
1. Enhancing Hold and Neatness
- Once all your feed-in braids are complete, apply a generous amount of mousse over them. This helps lay down any flyaways and adds a glossy finish, enhancing the overall look of the braids.
- Use edge control along the hairline and on the parts to redefine and polish the look. This step is crucial for achieving a neat, professional appearance. Take your time to ensure every detail is perfect.
2. Maintaining Your Braids
To keep your feed-in braids looking fresh and neat for as long as possible, follow these maintenance tips:
- Nightly Care: Cover your braids with a silk or satin scarf or bonnet at night to reduce friction, which can cause frizz and looseness.
- Moisturize Regularly: Keep your scalp and the length of your braids moisturized to prevent dryness and breakage. Use a light spray or oil formulated specifically for braids.
- Wash with Care: If you need to wash your braids, use a diluted shampoo and gently apply it to your scalp and braids. Rinse carefully without rubbing the braids too much to avoid frizz.
- Refresh Your Edges: Depending on hair growth, you may need to reapply edge control to your hairline to keep those areas looking sharp and tidy.
Conclusion
Mastering creating stunning feed-in braids at home takes patience, practice, and focusing on the details. This step-by-step guide teaches you the key to getting a neat, professional look.
Each step is important for the braids ‘ overall success, from prepping your hair and making clean sections to slowly adding extensions and finishing the ends.
Remember to change the style to suit your tastes as you practice and improve your method.
Whether you choose thicker or thinner braids, try different hair colors, or add accessories, feed-in braids can be done in many creative ways.
Enjoy the learning process and take pride in mastering this protective style.
With hard work and practice, you’ll soon be able to make perfect feed-in braids that protect your natural hair and showcase your unique style.
Your amazing, polished results are waiting for you!


